A year ago, I made a seatbag organizer bag custom fit to that extra-large Topeak Aero-Wedge bag that I (along with a number of other Free Wheelers of a certain age) like to carry (we're past the point where we're trying to get by on the lightest of bikes and baggage, and well into the "rather have it and not need it, than need it and not have it" mindset).
Although it fit nicely into the seatbag, there were two things I never liked about it. The first is that I'd made it just a bit too small to get everything I like to carry. The other is that I'd used a brass blue-jeans zipper, and it never worked smoothly. Over the weekend, the zipper simply locked up; I had to tear the bag open (although I could still sorta use it), so I resolved to make another.
Having the old bag, I could use it as a pattern. I made the shaped sides about 3/8" longer. The sides are held together by a long, narrow rectangle of fabric. On the first one, I made that 1" wide plus the seam allowances; this time I raised that to 1 1/2". And I had a plastic zipper in the drawer that hadn't been used on a project that I thought better of before I'd actually bought the fabric for it.

Above, from lower left: one side cut apart with the zipper installed, the other side for the new bag; the side of the old bag that I'd used as a pattern. (Note to self: that right-side-to-right-side-and-fold-it-over zipper trick works a treat.)

The outer rectangle is sewn onto the side with the zipper in the picture above; the other side is at top, under the orange-handled trim shears.

Above, same as the previous picture, but other way up.

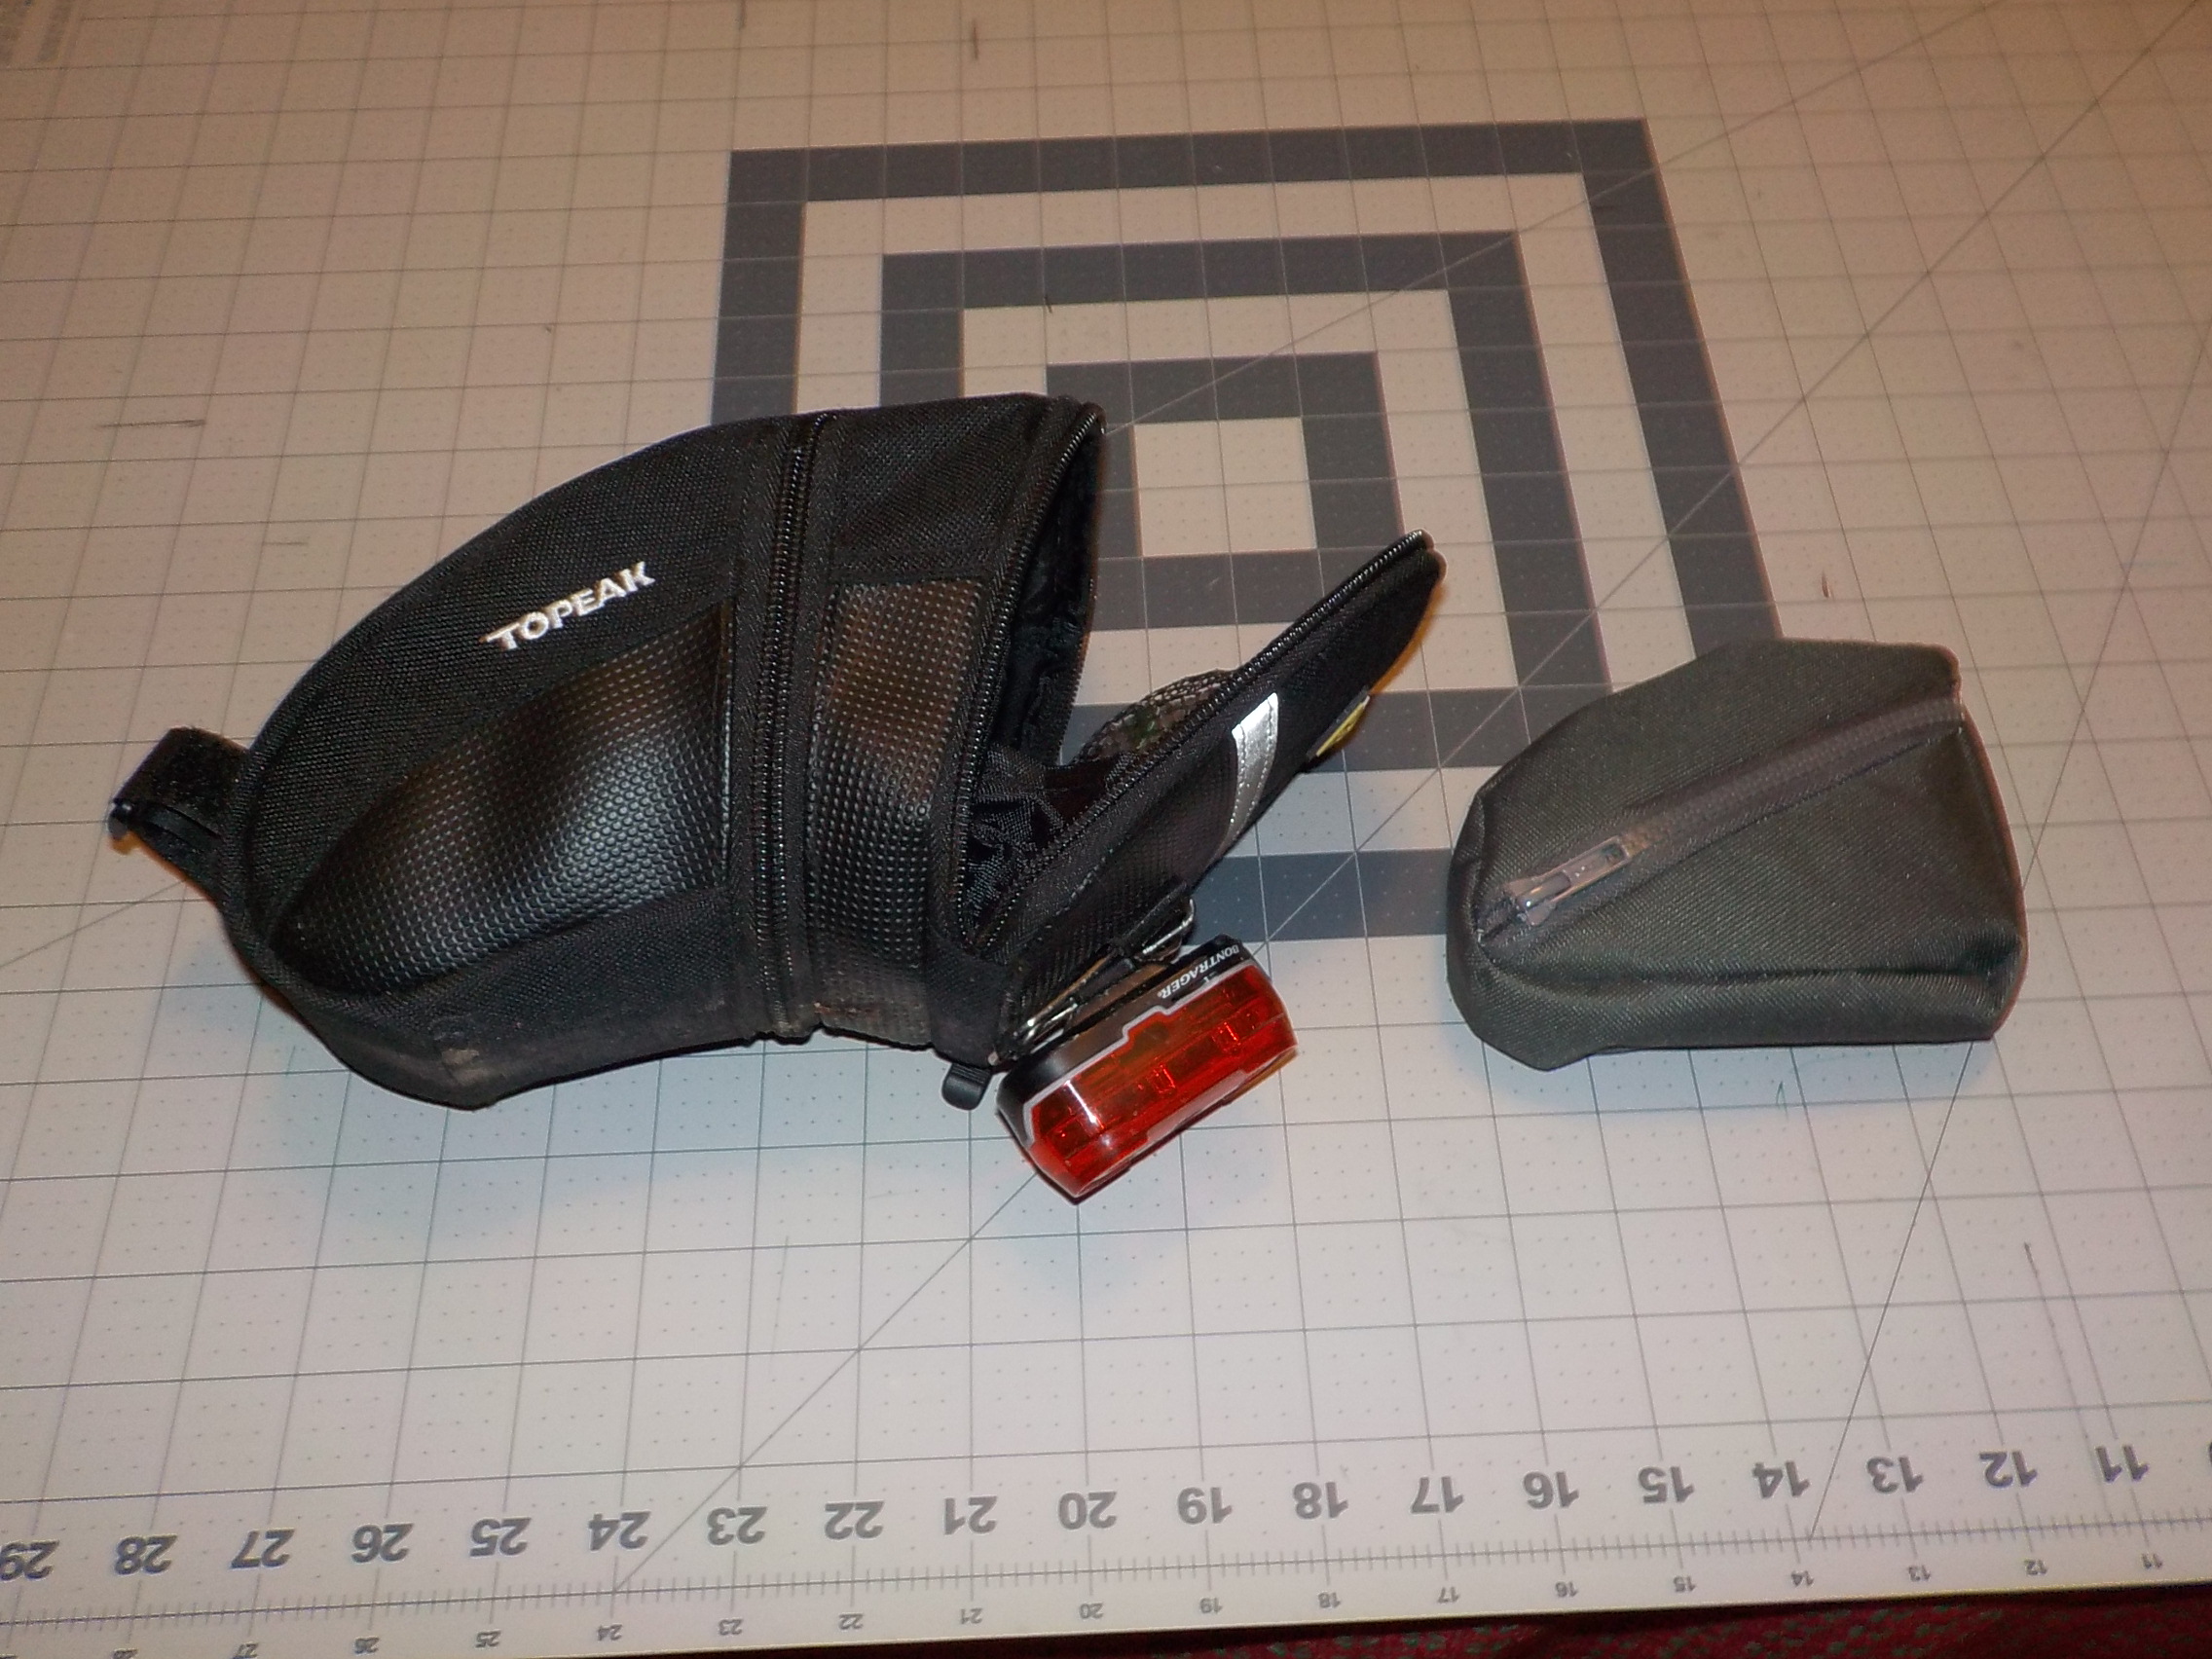
All sewn up in the picture above. I need to trim the outer rectangle piece (measuring around those curves is a PITA; I decided I'd just make the piece long and trim the excess. Your sewing teacher would not have approved). The piece is worked inside out; leave the zipper open and turn it right-side-out when done. You can see the finished product, filled, in the top photo.
What's in it?

The stuff on the right. From top:
- Tire Glider tire tool*. Theoretically better than just levers for removing and replacing tires (and it is, when it fits, but see below).
- Crank Brothers M19 multi tool. It includes a chain tool and spoke wrenches, as well as the Allen keys, screwdrivers, and a common Torx size, but the Allen keys and screwdrivers are sometimes too short. When somebody finds a multi tool that includes all this stuff, with regulation length screwdrivers and such, that is NOT made by Silca or some other bicycle jewelry company, I'll get one.
- A CO2 cartridge.
- A box from a tire patch kit, that actually contains quick links for 9- and 10-speed chains (I know from experience that I can use a 10-speed link to repair an 11-speed chain). I've used 'em twice for others who have broken chains en route. (I find tire patch kits are useless at roadside, despite the many recommendations. Use 'em if you're doing self-supported touring; otherwise, use Uber. YMMV.)
- Another CO2 cartridge.
- Lezyne aluminum tire levers. They're beautiful, and stand up to tight tires better than the plastic ones. (I'm lookin' at you, Continental Tires...)
- Genuine Innovations Air Chuck CO2 inflator. I've tried a bunch, and seen more. This is one of the original designs, and it works. Period.
- Lezyne spoke wrench. I bought this at Wheelfine Cycles when I'd spent far too much time picking Michael's brain and wasting his time, and felt I needed to part with some cash to justify it.
- House keys. (I also have a set in my wallet. And in the car. There's a story in it.)
NOT in the bag are two tubes (shown), a set of Allen keys, and some tire boots.
I like this bag way better than the old one.
*Tire Glider. It's worked sometimes, and the theory is great, but the notch that the wheel wall goes into when the tire is being replaced is too tight for some wheels. I've recently come across the Tire Monkey, with a wider notch for the wheel wall, and generally beefier construction overall. I've not used it yet, but I have high hopes. (Your best bet might still be the Kool Stop Tire Jack. I've got two. For the really reluctant tire, I've used the Tire Glider to keep the bead from falling off with my left hand, and the Kool Stop jack to force the tire on with my right. Don't get me started on Continental tires and tubeless-ready wheels.)
No comments:
Post a Comment