Showing posts with label sewing. Show all posts

Monday, March 6, 2023

seatbag organizer bag


A year ago, I made a seatbag organizer bag custom fit to that extra-large Topeak Aero-Wedge bag that I (along with a number of other Free Wheelers of a certain age) like to carry (we're past the point where we're trying to get by on the lightest of bikes and baggage, and well into the "rather have it and not need it, than need it and not have it" mindset).

Although it fit nicely into the seatbag, there were two things I never liked about it. The first is that I'd made it just a bit too small to get everything I like to carry. The other is that I'd used a brass blue-jeans zipper, and it never worked smoothly. Over the weekend, the zipper simply locked up; I had to tear the bag open (although I could still sorta use it), so I resolved to make another. 

Having the old bag, I could use it as a pattern. I made the shaped sides about 3/8" longer. The sides are held together by a long, narrow rectangle of fabric. On the first one, I made that 1" wide plus the seam allowances; this time I raised that to 1 1/2". And I had a plastic zipper in the drawer that hadn't been used on a project that I thought better of before I'd actually bought the fabric for it.


Above, from lower left: one side cut apart with the zipper installed, the other side for the new bag; the side of the old bag that I'd used as a pattern. (Note to self: that right-side-to-right-side-and-fold-it-over zipper trick works a treat.)


The outer rectangle is sewn onto the side with the zipper in the picture above; the other side is at top, under the orange-handled trim shears.

Above, same as the previous picture, but other way up.


All sewn up in the picture above. I need to trim the outer rectangle piece (measuring around those curves is a PITA; I decided I'd just make the piece long and trim the excess. Your sewing teacher would not have approved). The piece is worked inside out; leave the zipper open and turn it right-side-out when done. You can see the finished product, filled, in the top photo.

What's in it?

The stuff on the right. From top:

  • Tire Glider tire tool*. Theoretically better than just levers for removing and replacing tires (and it is, when it fits, but see below).
  • Crank Brothers M19 multi tool. It includes a chain tool and spoke wrenches, as well as the Allen keys, screwdrivers, and a common Torx size, but the Allen keys and screwdrivers are sometimes too short. When somebody finds a multi tool that includes all this stuff, with regulation length screwdrivers and such, that is NOT made by Silca or some other bicycle jewelry company, I'll get one.
  • A CO2 cartridge.
  • A box from a tire patch kit, that actually contains quick links for 9- and 10-speed chains (I know from experience that I can use a 10-speed link to repair an 11-speed chain). I've used 'em twice for others who have broken chains en route. (I find tire patch kits are useless at roadside, despite the many recommendations. Use 'em if you're doing self-supported touring; otherwise, use Uber. YMMV.)
  • Another CO2 cartridge.
  • Lezyne aluminum tire levers. They're beautiful, and stand up to tight tires better than the plastic ones. (I'm lookin' at you, Continental Tires...)
  • Genuine Innovations Air Chuck CO2 inflator. I've tried a bunch, and seen more. This is one of the original designs, and it works. Period. 
  • Lezyne spoke wrench. I bought this at Wheelfine Cycles when I'd spent far too much time picking Michael's brain and wasting his time, and felt I needed to part with some cash to justify it.
  • House keys. (I also have a set in my wallet. And in the car. There's a story in it.)

 NOT in the bag are two tubes (shown), a set of Allen keys, and some tire boots.

I like this bag way better than the old one. 

*Tire Glider. It's worked sometimes, and the theory is great, but the notch that the wheel wall goes into when the tire is being replaced is too tight for some wheels. I've recently come across the Tire Monkey, with a wider notch for the wheel wall, and generally beefier construction overall. I've not used it yet, but I have high hopes. (Your best bet might still be the Kool Stop Tire Jack. I've got two. For the really reluctant tire, I've used the Tire Glider to keep the bead from falling off with my left hand, and the Kool Stop jack to force the tire on with my right. Don't get me started on Continental tires and tubeless-ready wheels.)


Thursday, March 2, 2023

frock coat, v4.0

I finished the frock coat I was working on (see this post). I didn't put adequate interfacing in the collar or lapels, so they need attention, and it doesn't button well -- but I usually wear blazers open anyway.

I like it. (I like being a little over-formally-dressed at most occasions, anyway. Even though I'm retired, this will definitely get use.)


Tuesday, February 7, 2023

new sewing project


Regular readers may remember that I started learning to sew over COVID, and people who know me will not be surprised to hear (and may already have figured out on their own) that I like to be a little overdressed for any occasion. Decades ago, I worked with a woman (it's all I can do not to say "I worked with a girl..."; while she had the age to be a woman, she had attitude and irresponsibility I associate with girlhood) who had a suit consisting of a frock coat and flared pants. I have low-key wanted a coat like that ever since (it's basically a blazer with a knee-length lower hem). I've made four of 'em: neither of the first two was worth saving and are now banished from the house; I wore the third to an event over the weekend (and yes, I was a little overdressed for the event).

The last time I was in the fabric store, I saw some lovely suiting fabric, and decided I just had to try the frock coat again. Laura OLPH was rooting for purple with contrasting piping, but the ghosts of my WASP ancestors put their foot RIGHT down on that suggestion (I'm sure we'd find my homophobe father would be turning in his grave at the whole idea of my sewing at all ["No son of mine..."], if there were enough of him left to know he'd turned, but he was cremated, and how would you know if his ashes were restless?), but I did go for bright salmon lining in bridal satin, q.v. in the picture above. 

That's the bodice lining. It took me most of two days to assemble (although I don't work eight hours a day on it), partly because the original pattern doesn't include the inside pockets, which I had to design, cut parts for, and let into the pieces (a terrible, but unfortunately true riddle: Q: What's a man's blazer without inside pockets? A: A woman's blazer). I cut the pieces for jacket, lining, pockets, and all on Saturday, and between pressing, layout, and cutting, it took about five hours (I'm sure someone who knows what they're doing can cut it in less than half that).

The lining fabric is bridal satin, which is just a joy to work with; it's got body (unlike many thin lining fabrics) and stays pressed. The cut edges were shedding like crazy, but it's a polyester, so I figured that if I singed the edges, the fraying would stop. That worked a treat, but don't let the fabric catch fire when you're using the lighter.

The bodice lining includes the upper collar, and I was getting tired and cranky by the time I was putting that on; I had to cut the stitches and reassemble a number of times, which tells me it's time to quit for a while.

Next is the outer bodice, which should take a little less time (all the pieces are in the pattern, and I've made a few mistakes I can avoid on the outer, which is one of the reasons I do the lining first). And then the sleeves. Assembling the sleeve pieces is straightforward, but fitting them to the bodice (both the lining and the outer) requires attention: the sleeves are larger than the arm holes they go into, and the technique for fitting the sleeves is not forgiving. (You could have seen several ways to do it wrong on the ones I threw out.)

I've done enough of this stuff to know that when I finally get to the point that the lining and the outer are assembled, I'm only about 60% finished; there is a large amount of special finishing and hemming, and eleven or thirteen buttons to go on. I expect it to be complete in about a month.

For no reason, below find the side of the lining that will be hidden, showing the guts of the inside pockets:


Since I make 'em to suit myself, they're each large enough to hold either my oversized wallet or my cell phone.

No, I won't make one for anybody else. But if you need alterations...

Wednesday, January 25, 2023

new cycling jersey


It's a shame I look like a dentist in scrubs in that picture, because that jersey pattern came out well, and is probably one or two iterations away from what I really want.

Yeah, I'm working on making my own jerseys. I'm not paying for the good ones, and I don't like the fit of the cheap ones, and I don't like the zippers. I'm never gonna pull down that zipper; keeping my scrawny, grey-haired chest covered is a spiritual work of mercy and a service to the community.

The fit is good; the pockets are deep in back without being so high at the waist that it's hard to reach into 'em. The fabric is sweat-wicking, and a good weight: not heavy, not too flimsy.

Regular readers know that I started sewing during the pandemic. When you start sewing, you wind up making an awful lot of stuff that turns out to be only good for rags. This is probably my tenth jersey, and I only have one other that I'd actually wear. I made two for fellow club members, but those had zippers in, and for the zippers and for other reasons, I'm not really happy with those.

There are a couple of more details I need to work on. But expect to see that seafoam jersey when then weather warms. (I might try a long-sleeve version next...)

On Facebook, I saw ads for this Ocean & San; one of their slogans is "Looks like a shirt; rides like a jersey" (they use a comma instead of the semicolon, but don't worry; I corrected 'em).  That's kind of the vibe I think I'm going for. It's recently come home to me that almost nobody I ride with or hang around with has the same ideas about bikes, cycling, or accessories as I do. Oh, well.

Friday, April 1, 2022

what i did today

 You may not remember that first class I taught when I went back to the New Brunswick Bike Exchange, but I do. I especially remember this pic:


Ever since seeing that, I've been thinking about that bald spot. (The Excellent Wife [TEW] is graceful enough to call it a "thin spot", but, in an occurrence rare for her, I think she is showing more tact than honesty.)

Today, I made this hat to cover up the bald spot:


I found a not-too-expensive pattern for the flat cap, and, knowing that I usually have to go for the largest hat size available, made up the pattern in the largest size... and it was way too big. So this hat is an adult small. (It's my third try; the second one fit, but I made it up in a print that nobody should actually be seen wearing.)

The print on this hat is skull-and-barbed-wire; Rickety's son had brought some home for some project or other, and this was left over. When he heard I was sewing, Rickety gave me three or four lengths of fabric, and this was among them. I love it for this hat, mostly because I'm so not a skull-and-barbed-wire kind of guy.

I'm going to wear it at the Bike Exchange, and it's gonna get grungy. I'll have to make a successor. (It actually requires some skills; there are some tough curves to match up when pinning it together. Also, the pattern is lined, so it looks a bit of quality.)

The vest in the pic is also my handiwork. I back-engineered the pattern from a vest I own, and then fitted in the pockets. It's mostly a glorified cell-phone carrier, because I'm tired of getting the rolled eyes I see when I use those belt carriers some of us old guys prefer.

Tuesday, March 1, 2022

it turns out...


On my last ride, the ski gloves I wear under my crocheted cycling gloves* looked like they'd given up the ghost, at least on that one index finger.

But it turns out that when you have a sewing machine, you can fix such things.

*I prefer these crocheted gloves, not because I'm a retrogrouch (although I undoubtedly am), but because they're the only gloves I've found where the padding goes all the way across the recess between the thenar eminence and the hypothenar eminence (and now I know what the names of those bulges at the base of your palm are called... and now you do, too).

Monday, January 17, 2022

the idle mind...


 Oh, my stars, but when it hasn't been too cold for me to ride recently (a number of the Hill Slugs have apparently done a trail ride), it's been too wet. I've been sitting home idle, trying to avoid being completely overwhelmed by self pity. 

I got to thinking about the organizer bags I use in my seatbag to manage my CO2 cartridges, multi-tool, and the like. I got about a dozen or so at a dollar store than has since gone belly-up, and I haven't seen the like elsewhere to replace them. They're zipper bags, about 5x7", with a layer of plastic on the fabric so they're at least nominally water-resistant... but the fabric is thin and wears out, and the zipper gives up at the slightest sign of overfill.

I've got this fabric that I used to make saddle covers (the plastic I got initially proved to be too thin, so I got some polyester canvas with a rubber coating). I got way too much, thinking that I'd need to make several saddle covers until I found a design that worked... and then I hit on an effective design on the first try. I've got two saddle covers, so if The Excellent Wife (TEW) and have both bikes on the car, we can protect both saddles (only mine is leather, but there you are).

I had to get a zipper for another project, and got a couple of blue-jeans zippers to play with for this (although I'd use heavy plastic zippers in future; the brass resists zipping on these bags). At first, I thought of a rectangular bag (bottom left, above)... but I got the corners wrong, and it turned out not to fit neatly in the seatbag I use (at top, above, the Topeak Large Aero Wedge; it's the biggest underseat bag I can find that doesn't require a separate frame and doesn't seem TOO stupid). The bag fits, of course... but it makes it hard to also fit in the two tubes and the VAR tire tools I like to carry.

Then I got the idea of making a bag that was the shape of the seatbag. I tried tracing the bottom, but that turned out to have too much "pinch" at the narrow end. Then I traced the side, and that worked better; you can see the bag at center bottom, above (bottom right is the pattern I traced). I can push it in to one side of the bag, and get the two tubes next to it.

It fits two CO2 cartridges, my "detonator", my Crank Brothers M-19 multi-tool, and my Lezyne aluminum tire levers. It doesn't fit the pill bottle full of a dozen-or-so quicklinks in 9- and 10-speed sizes (I know from experience that I can use a 10-speed link on an 11-speed chain), but that can sit in the narrow nose of the seatbag*. I figured the angled zipper on the side would give me easier access than a zipper on the end (and I was right). My two tubes, the VAR tools, a set of Allen wrenches, and some tire boots also fit in the seatbag (though not in the organizer).

*I have had to use these exactly twice in my decades of riding, but I make it a point of pride to have with me what I need to get you going again. There's probably not enough therapy in the world to fix me.

I need to think of another project; it doesn't look like the weather is improving soon.

Sunday, December 12, 2021

mutiny ride


Well, when there are only two club rides listed on a sunny (albeit windy) Sunday, I suppose I can't be surprised that I had seventeen registrants at the start. Some were new to me, and they brought a range of abilities from "just about able to keep up" to "holy bananas, but that character is fast; what on earth are they doing here?"


Laura OLPH had contacted me about having a glass sale; she'd made a number of globes and ornaments which she was selling at holiday-sale prices, with proceeds to benefit the Trenton Bike Exchange. Like, I was really gonna say no to Laura about that?


She later contacted me ans said they'd nearly cleaned her out. Laura may not be impressed with her own glassblowing abilities, but everybody else sure seems to be. (I also gave Laura another long-sleeve jersey I'd sewn up for her.)

My plan for the ride was to try one of my regular routes, but to see if I can find an alternative to Homestead Road. Homestead has a number of annoying hills, and I wondered if we could avoid that by going up the one nasty hill on Amwell Road; today I tested the hypothesis. Results were mixed: this one didn't like the increased traffic, that one thought this hill was less miserable, the other thought that Homestead was less demanding. I was hoping for a conclusive decision; I didn't get one. Alas.

We continued along to Thomas Sweet for the stop.


I got to talking to Bolong about bike maintenance... and the next thing I know, the rest of the ride is leaving without me, because I'm taking too long! Wait, what? Whose ride is this, anyway?

I guess there's a certain amount of anarchy in the club, or something.

We caught up to the rest of the ride when they were waiting to gather at one of the turns. As large rides tend to do, we broke into a faster and slower group; I stayed with the slower folks (even though both Dave H and Ricky G were sweeping). And we got back with everybody with whom we'd left!

Ride page.

Saturday, November 13, 2021

'nother frock coat

 I haven't sewn much recently (I made another of those vests that are basically a cell phone carrier, but nothing else), and I've been wearing the frock coat I made over the summer. I like it a lot, and have gotten a number of compliments, but I also know all of its flaws, and wanted something better.

A week ago, I went to the fabric store and found some nifty grey wool-and-acrylic blend, and they had real lining fabric in bright red. I'd used bridal satin to line the first one, which is luxurious, but the satin has some body to it, and, since the suiting fabric was so light, the satin affected the way the coat hangs. The outer fabric for this one is heavy enough that I could have used satin, but the lining will do.


The pattern only has two outer pockets, so I add inside pockets myself; three on this one. I'd thought of two, but they weren't big enough to get a wallet into easily, so I added a third. You can see two of them on the inner facing at right above. At left, the right front panel with the pocket flap.

I learned a lot on the last one, and this one's going together a lot easier. The lining is mostly done; I've got to do the outer back and sleeves, and assemble on the sewing machine. At that point, the jacket is about 60% complete; there is an amount of hand hemming and buttons/buttonholes that take far more time and attention than one would think. 

But I expect it will be together by Christmas. Perhaps it will be part of my Scrooge costume.

Friday, June 4, 2021

needs buttons and buttonholes, and a good press

It needs buttons and buttonholes, and a good press...


 ... but other than that, the frock coat/blazer is done.

It's got a million flaws, and I'm still stupidly proud of it.

(And yes, I really do wear a shirt and tie when I work from home.)

Tuesday, June 1, 2021

now for the hand sewing and detailing

So it's all up to the hand sewing and finishing now on the frock coat (which is really a blazer with a long bottom); I've sewn the shell to the lining. Below, inside out: the front...

...the back...

...the back lining. You don't get to see the front lining, because I'm not showing the cob job I made of those inside pockets.


 Turned right-side out:

Above, the front. It needs a press; the collar needs to be nailed in, and a few other things. Below, the back.

And below, the good side of one of those inside pockets.


Real satin lining. I like it, and it's mostly nice to work, but it's a dirty fabric; it sheds threads and fibers everywhere.

Most of the rest is closing up seams and hand sewing. It might take another week; I'm not great for that (you should see me try to thread a needle...)

Edit 6/4: I did the lower hem last night by hand. There are only a few things to do by hand (the sleeve cuffs and the vent remain; there's also internal structural stuff), but it takes about 80% of the time that ALL of the rest of the assembly takes.


Tuesday, May 25, 2021

frock coat progress

 You can read here about the inspiration for it, and here about making the mockup. I bought the fabric about three weeks ago, and cut it about a week later... and then I was too nervous to start it, because it's WAY beyond my sewing capability, and then we went on vacation. But since I've been back, I've been working on sewing up that frock coat.

The shell of the main body. The lapels aren't finished, nor the collar, and the bottom's not hemmed yet; it will be about an inch shorter.


The main body lining. It's bridal satin: heavier than the usual taffeta lining, and not bad to work with (it's about the color of orange sherbet, and I love it). I added the inside pockets (the pattern didn't include them), because what's a men's jacket without inside pockets? (The answer, frequently, is "a women's jacket".) I really messed up on those inside pockets: they'll hold together, but I'm glad nobody's going to see this work. Correcting those inside pockets is one of the things I'll do differently if I do it again.

I'll probably do it again. I'm a much better bicycle mechanic than seamster.

The jacket is made with a number of different panels, and I didn't get them a even to start, so I cut some panels apart and reassembled them to get it right. That's another thing I'll do better when I do it again.

Next project is the sleeves. I know from experience that making the sleeves is only a little challenging, but setting them into the shoulders without tucks and inadvertent pleats is much more so. I'll do the lining sleeves first, and (I hope) learn on those. The jacket fabric is light enough that I'll definitely want to add sleeve heads.

I've had the sewing machine about five months, and I'm doing this. One one side, I really suck; I'm the most arrant beginner. On the other side, I'm making up a jacket, and adjusting the pattern to my wants. I'm simultaneously embarrassed and impressed with myself.

Friday, April 30, 2021

frock coat mockup


 It wants a heavier fabric, a lining, some stiffening interfacing, and some hems and finishing...


... and the cuffs want to be a bit wider (but I can adjust the pattern for that). Other than that, the mockup went together well.

Everything you're heard about jacket sleeves is true; they're hard to get right. Even in the mockup, I had to fit in a sleeve head.

When I get the fabric, I'll make the lining and facings first; I want to add some inside pockets (at least one on each side, wide enough to old my wallet, and deep enough to hold my phone), and doing the lining sleeves will give me a chance to practice sleeves again before making the jacket shell. The shell will be a midweight grey suiting fabric; the lining will be satin. Nobody's got my preferred teal or peacock blue in stock; I may want to do a burgundy instead.

Friday, April 16, 2021

frock coat

 Almost twenty years ago, I worked with a woman who had a black suit that consisted of loose-fitting trousers and a knee-length blazer. I don't give a damn about the trousers, but I have been low-key jealous of that jacket for nearly two decades. 

I got the sewing machine specifically to alter bike jerseys, and then to make my own. But I've been altering other clothes, and I made a vest for myself... and I got to thinking about that jacket. So I did some research, and went looking for patterns.

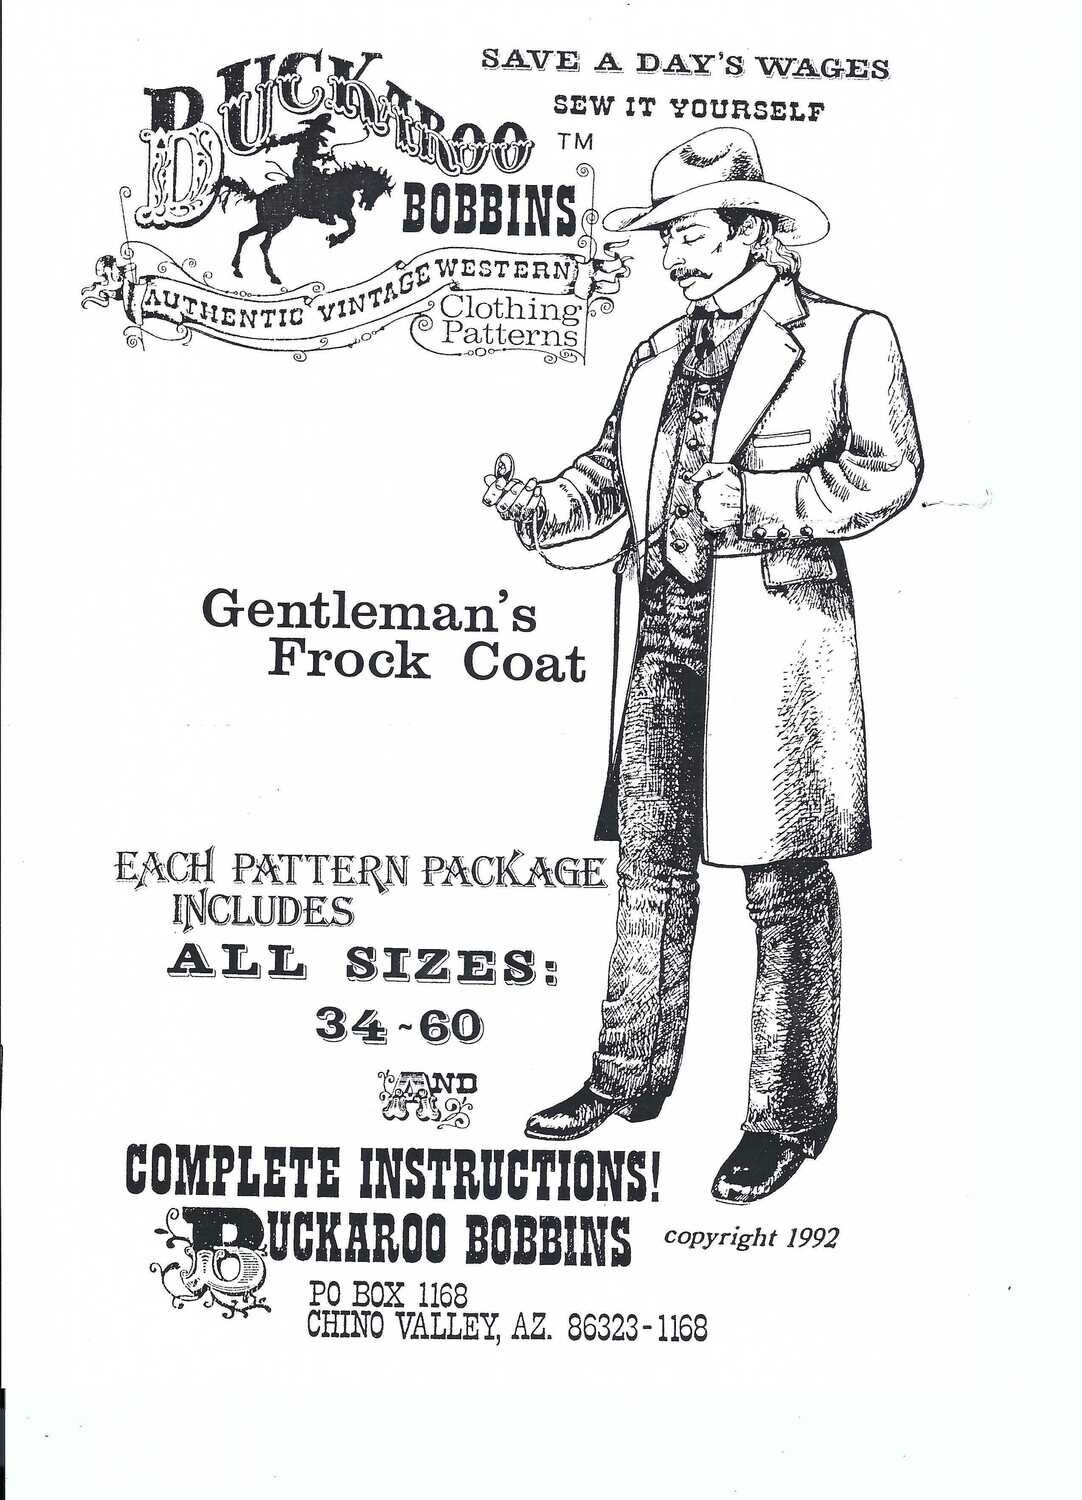
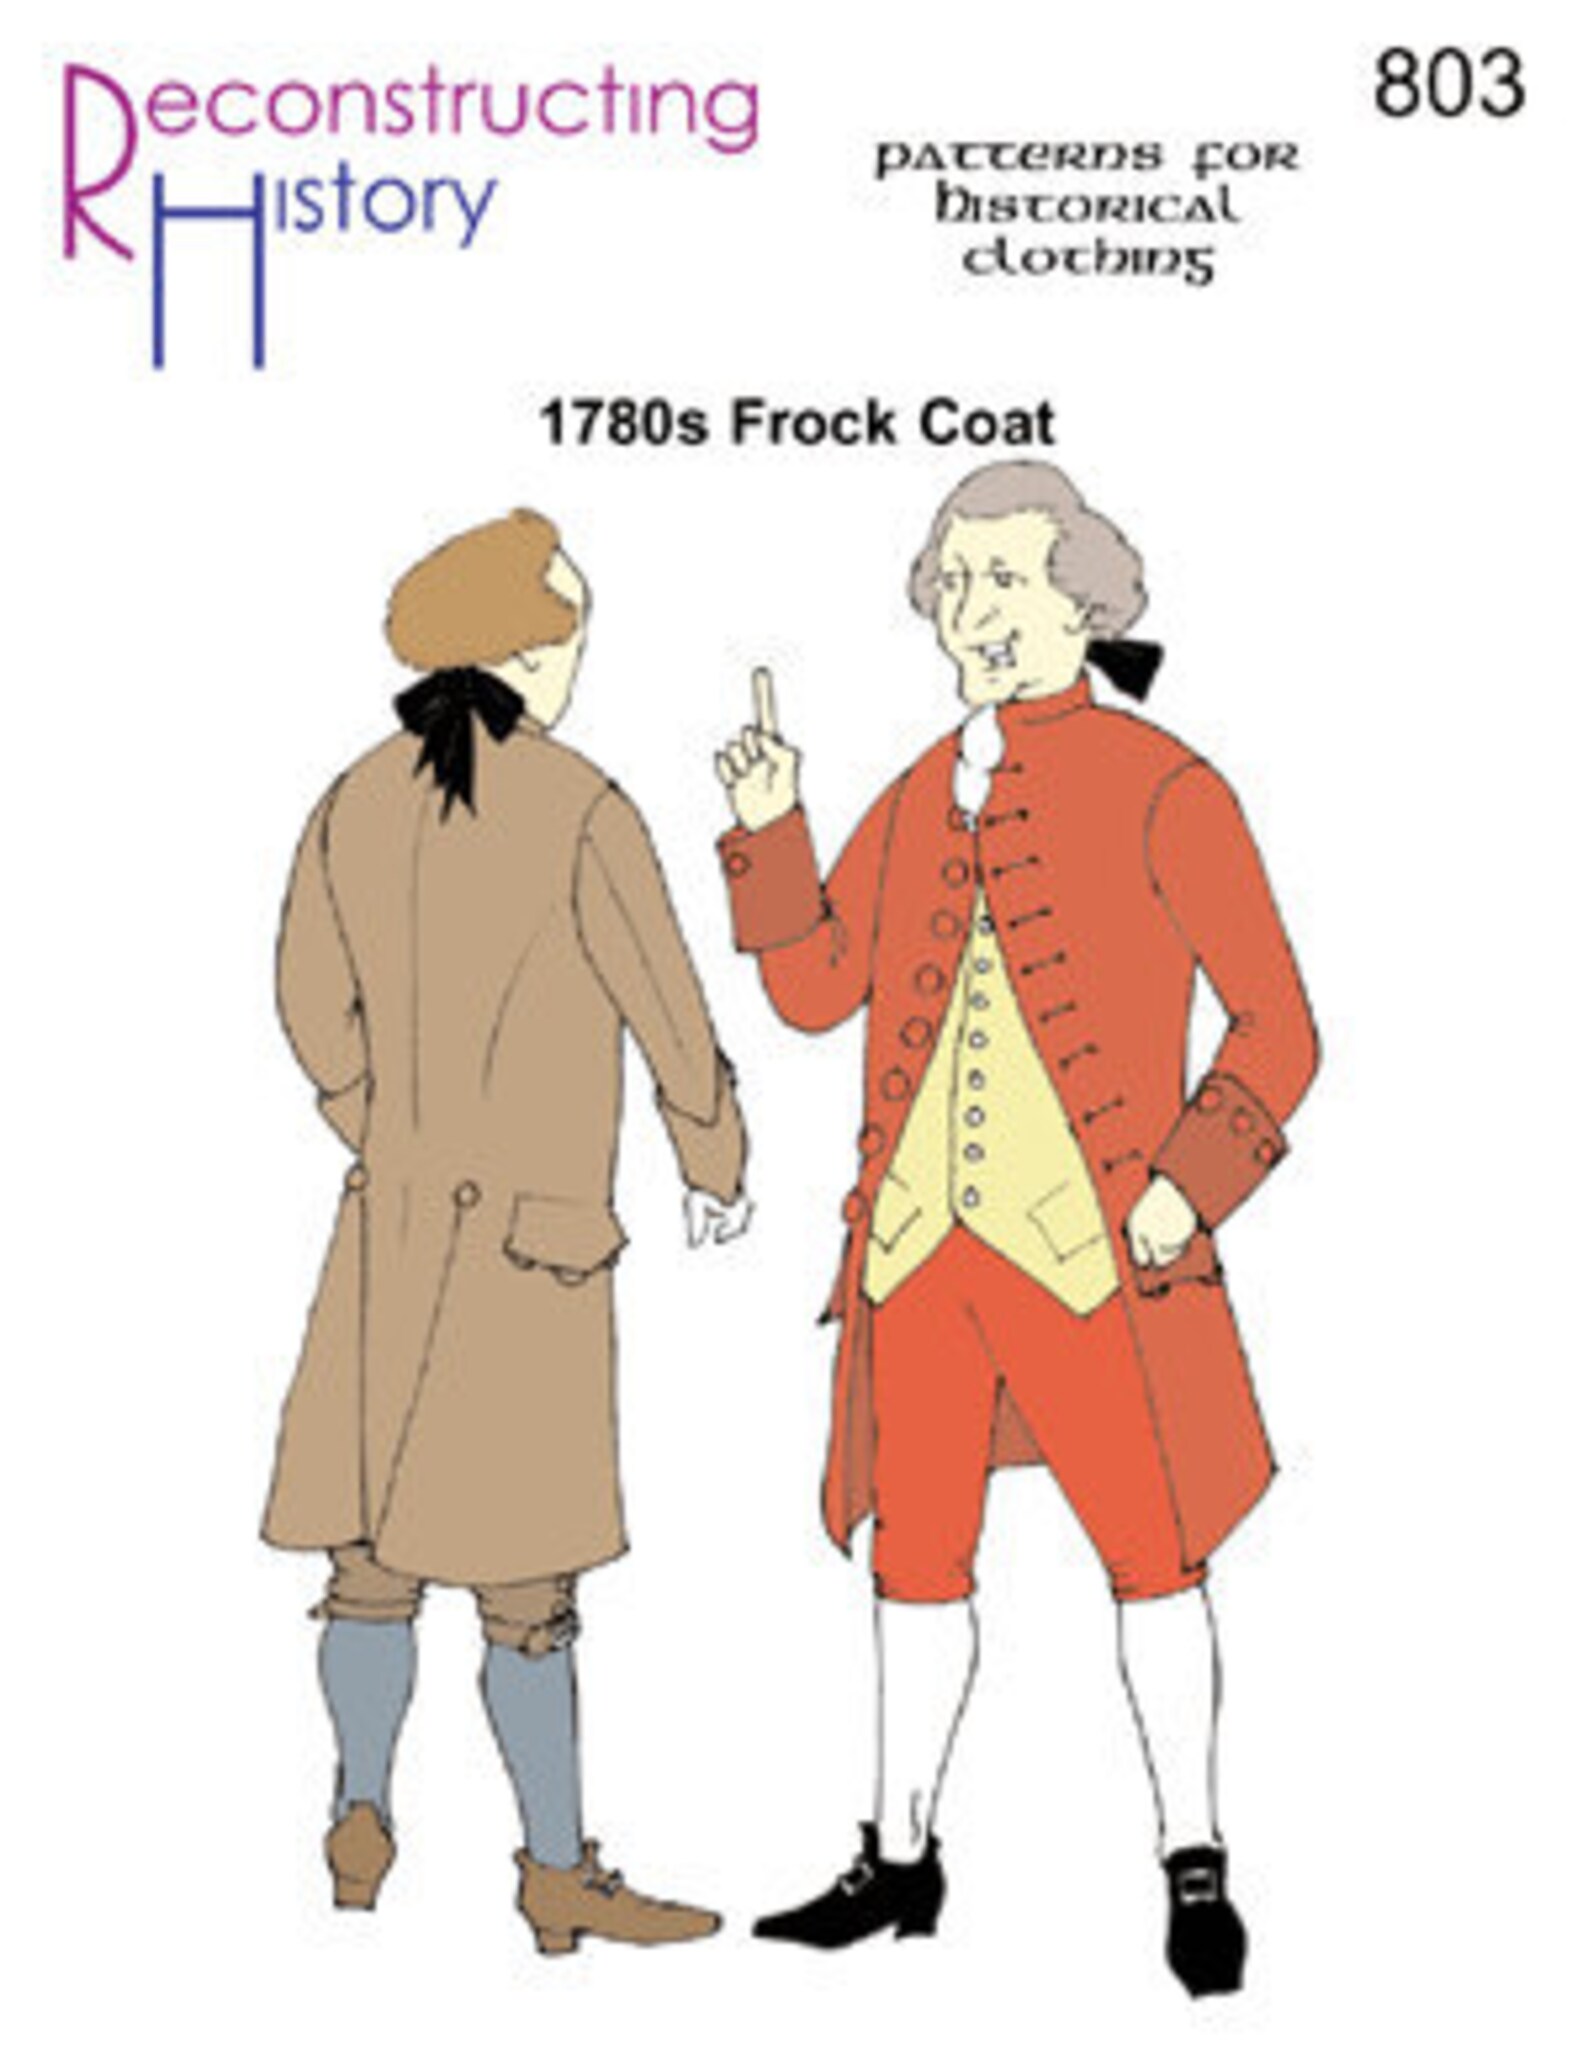
I found this one:


... but that wasn't quite it. Neither was this:

Nor was this:

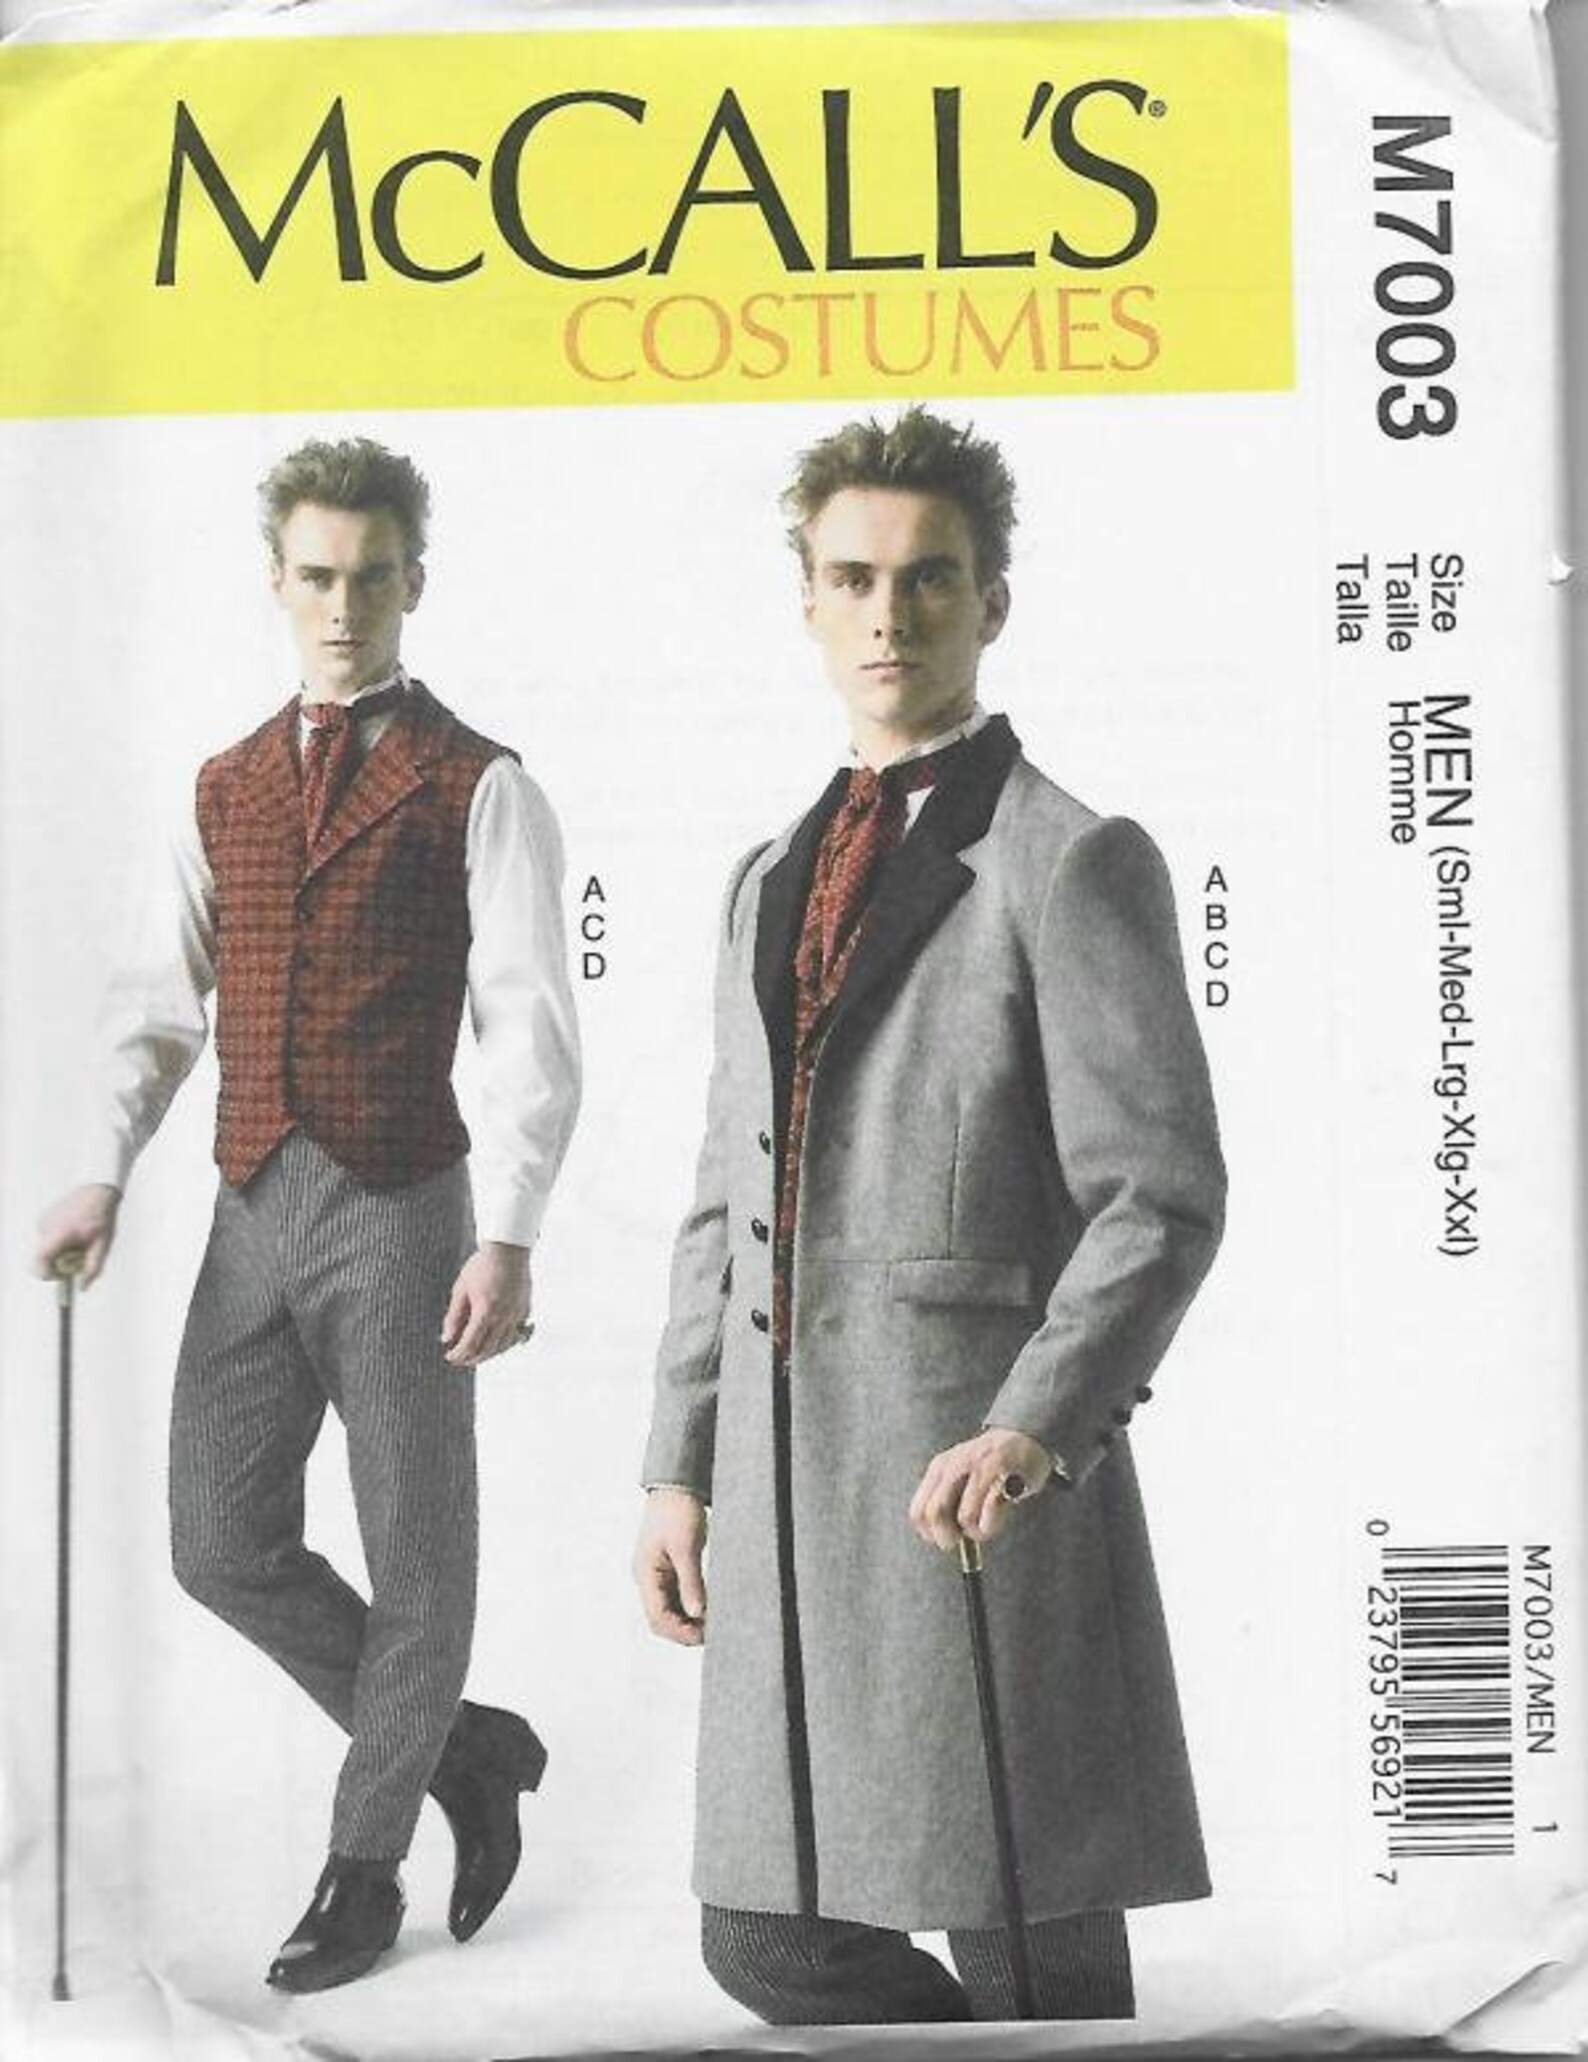
This, below, was more like it:


The pattern includes the vest, trousers, and tie, about which I don't give a damn... and I don't want the contrasting lapels, but I can just make them up out of the same fabric as the coat body. It will look like a modern blazer with long skirts, which is what I intend.

So I popped for the pattern, and I've been reading through it and learning the theory of how it goes together (for example, you make the entire lining and the entire outer separately, then you sew them together with the insides facing out starting at the collar, and then you turn the whole assembly right-side-out through the bottom hem, which you then sew up to close). 

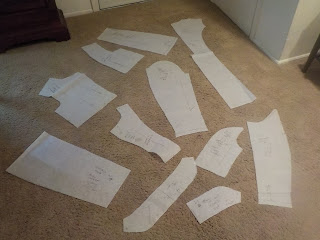
Today I cut out all the pattern pieces; below you can see about two-thirds of 'em, adjusted to my size:


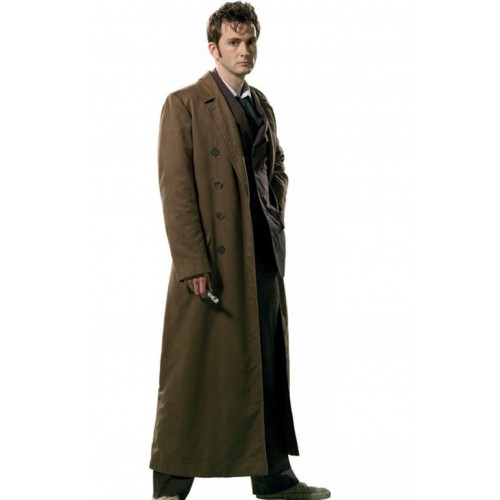
I'm thinking of a dark-grey main fabric (darker than the photo on the pattern envelope, but not quite black), and a deep teal lining. Laura OLPH has taken to calling it a "Dr. Who" coat.


Almost...

(The pattern doesn't include inside pockets, but mine will.)

Sunday, March 28, 2021

sewing update


So there's the vest I was working on, fresh out of the laundry (linen; do NOT tumble-dry!). I did a good job on the construction, but I don't like the fit all that much... but I made the pattern myself, from a vest that kind of mooshes on, so I'm not too disappointed.

Linen gets a kind of drapey-hang after it's been worn a bit. I'm glad I chose linen. (And it's good for carrying the cell phone, so here's that, too.)

If you see me when I'm not wearing a jacket, there's a good chance you'll see the vest.

Latest cycle jersey:


The puckering around the neck is reduced when I wear it. I've fixed the problem of the waviness in the seams.

Knits are better done on a different kind of machine than the home sewing machine I have, but I'm not about to get one of those; it's less about the cost than about affording it the house room. There are attachments and stitch choices that can be utilized, and my skills are improving.

The fabric I used for this one is commonly used on less-expensive jerseys (my two club leader jerseys are made of it). It has the advantage of being cheap when bought in bulk, and available in a number of colors (although the commercial manufacturers usually just get white and sublimate-print the graphics), but it only stretches one way  (confusingly referred to as "two-way stretch", as opposed to the "four-way stretch" that allows stretch in every direction). If you check your jersey at home, it will probably have decent stretch crosswise, but very little at all up-and-down (from the shoulder to the hem, for example). It made putting the sleeves in very tough. I have enough left to make one of those raglan-sleeve jerseys (I might like that pattern better), but I doubt I'll get more of this stuff, when the four-way stretch stuff (like that green-and-white) is available.

I have an idea for a knee-length blazer (have I posted that already?), but I need more practice first.